Sub-200g MYOG Silpoly Flat Tarp
Originally posted on Reddit.
As my second MYOG project (after an Apex quilt - posted a few weeks ago), I chose a flat silpoly tarp.
Dimensions: 280x140 cm (110x55 in)
Weight: 194.2 g (including lines and line-loks)
Design intentions
- simple and fast to make
- just big enough for a 196 cm (6’5’’) guy
- light, but functional
- not super storm-proof, still good enough for short weekend trips on local trails in fair weather
- no ridge-line seam -> no seam sealing and easier sewing
- no cat cut (easier to make)
- cheap (no DCF)
- usable with tent poles (I don’t currently use trekking poles)
Inspiration
This build is heavily inspired by u/noemazor’s silpoly tarp. The main differences are:
- no bug net (might add later)
- no taper towards the end, because I ordered the non-XL silpoly by mistake, so it’s already very narrow (about 140 cm)
- glued, not sewn reinforcements
- mini line-loks instead of the usual ones (still not sure which is better)
- a bit longer (to accommodate my height)
A lot of the details and sewing techniques are also based on videos by Bruce from Nature Calls Backpacking. This tarp features his signature sail-style tieouts.
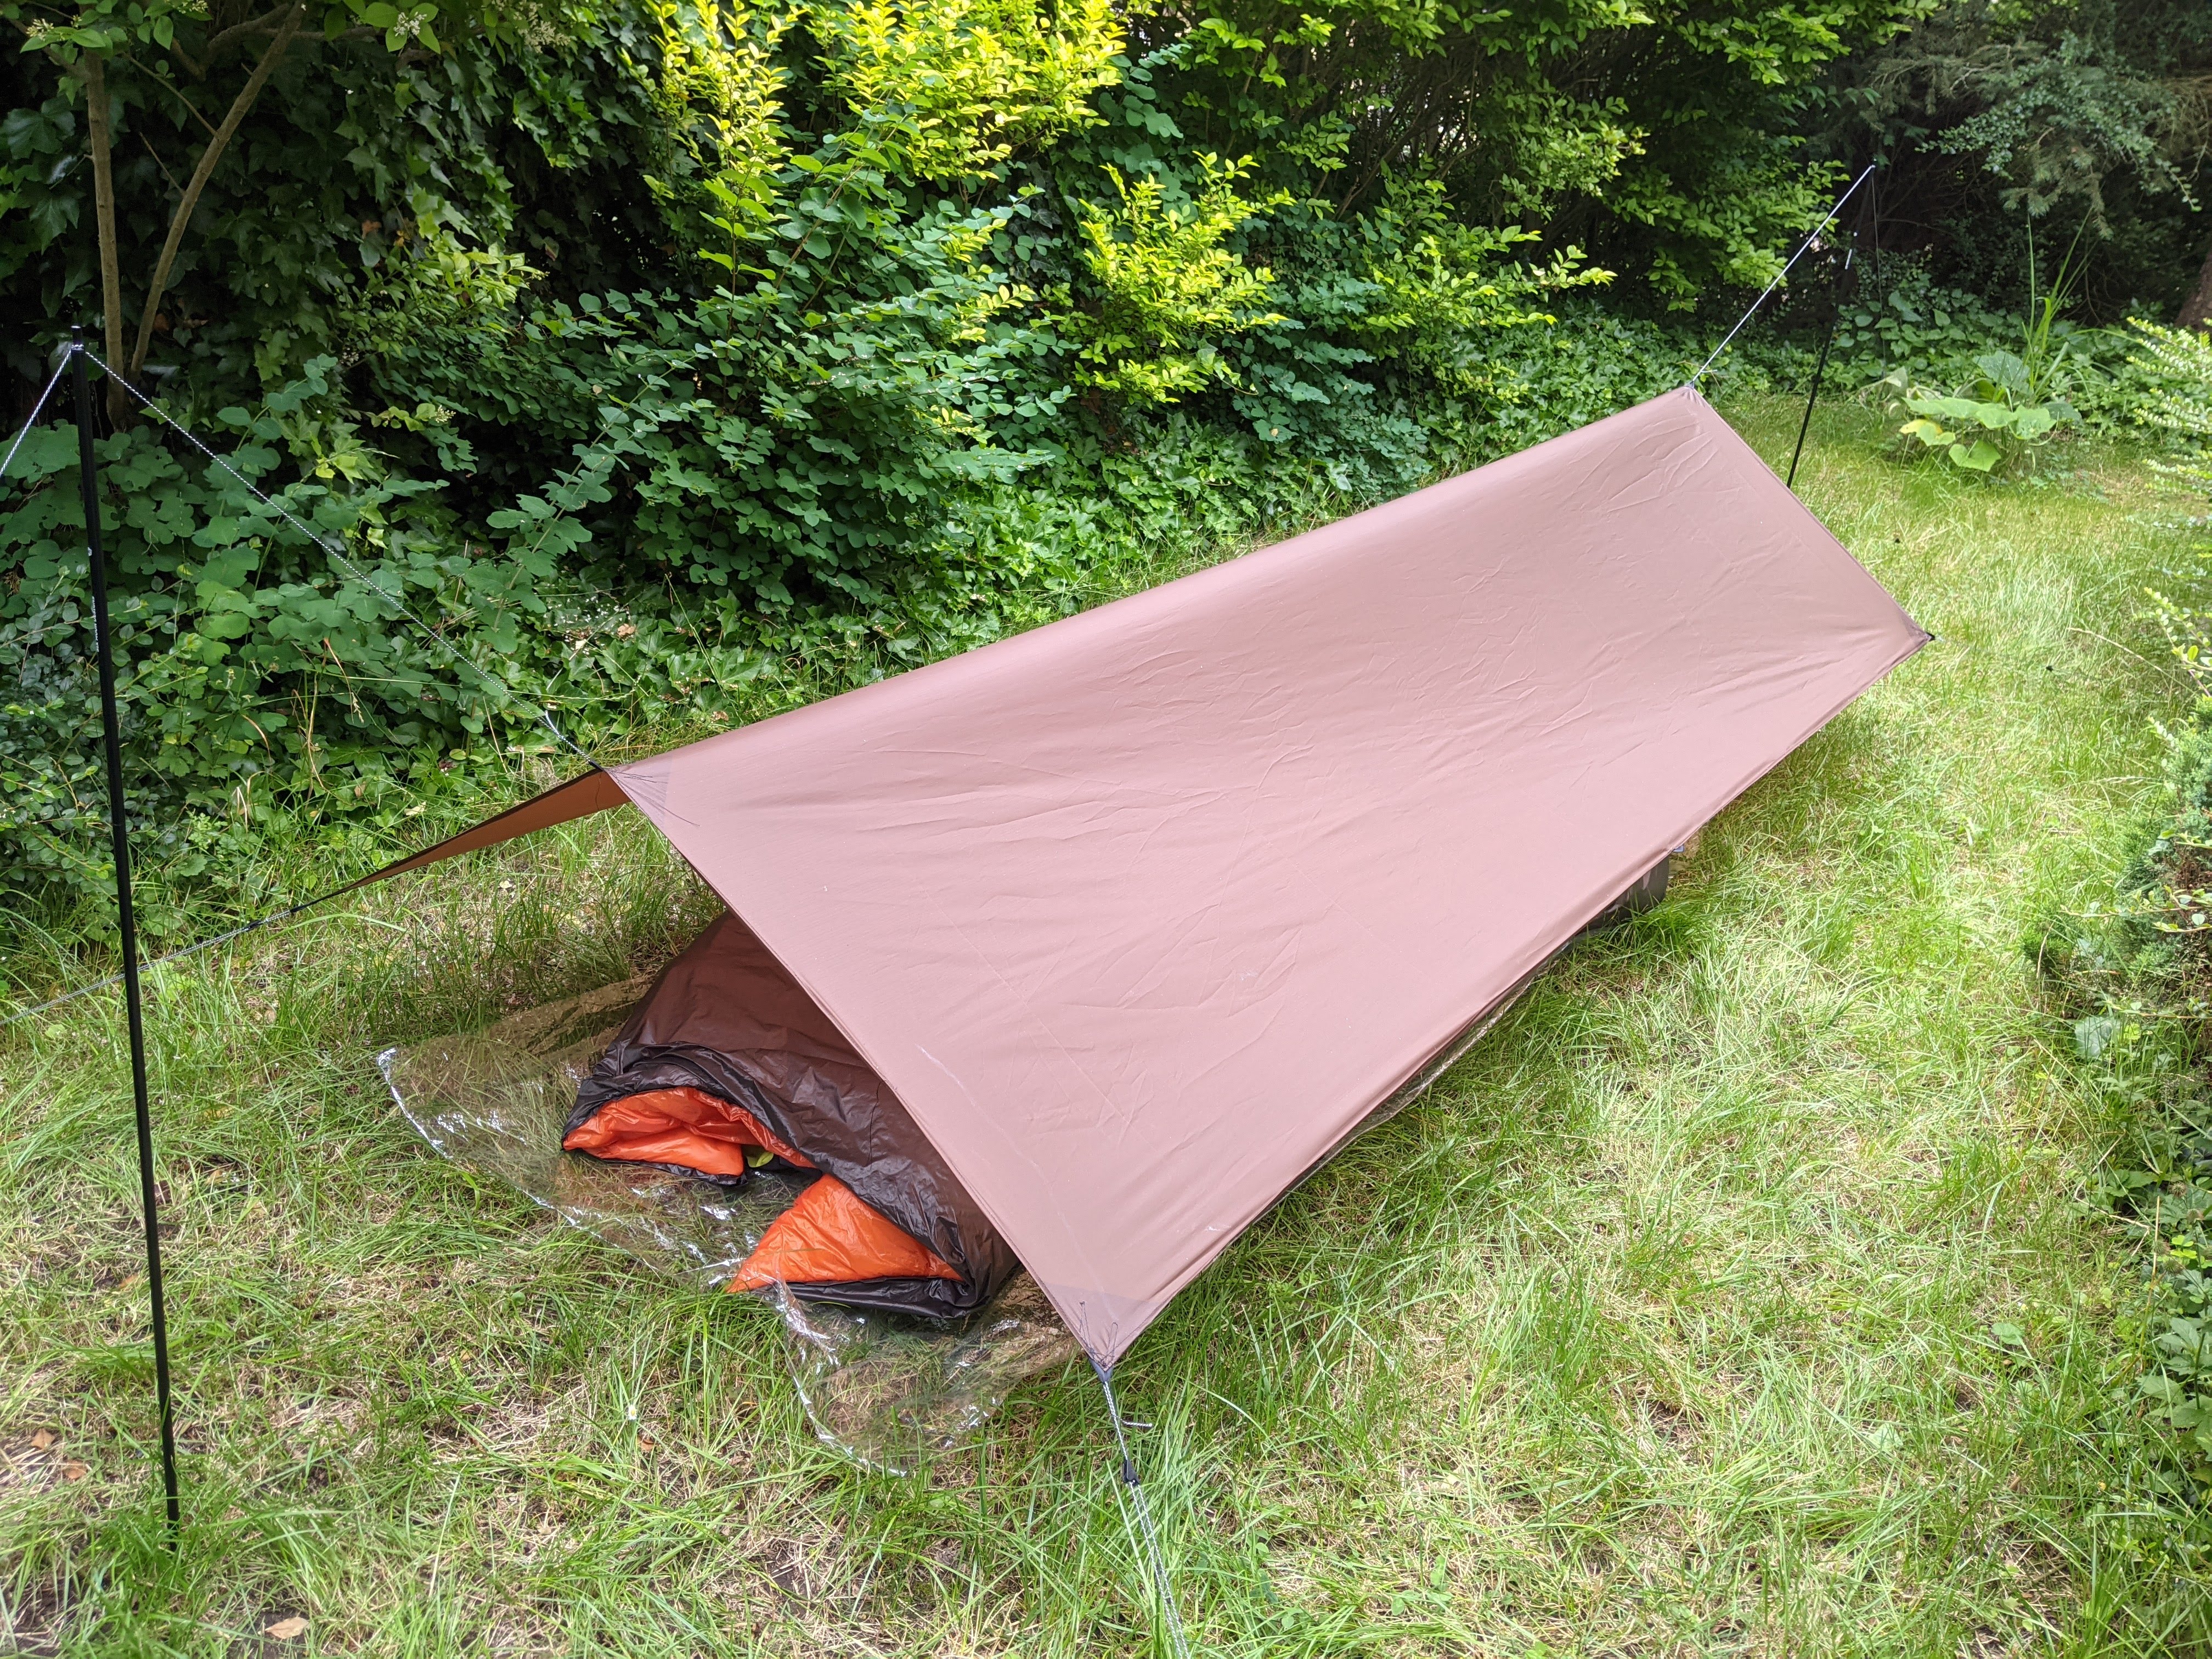
Review
- Overall happy with the results, I will continue using it over this summer
- I would make it a little bit bigger, both in width and length, to decrease sleeping pad positioning anxiety and have more space for my backpack and gear.
- Silpoly is a good material, would use again.
- I’m not sure if the mini Line-loks are the best option, I like the other ones used in the original tarp, but I don’t like that they are sewed on permanently (can’t be easily replaced).
- I’m happy with the glued reinforcements, but I’m not sure if they will hold up long-term. I might also sew them on and seam seal them.
- My imperfect gluing left a lot of shiny glue marks around the reinforcements. Looks odd, completely functional.
- The 1.3mm Dyneema lines are super strong and work well with the line-loks, but they tangle easily in my backpack, not sure what to do about it.
- My 114 cm SMD tent poles work well, but they are a bit too long.
- It’s lighter than I expected and packs very small.
Materials
I’m from Europe, so ordering from the ever popular RSBTR doesn’t really make sense. A lot of their materials are sold by adventurexpert.com (Slovenia), where I ordered all the materials (excluding the glue):
- 3 m of 20D Silpoly Ripstop (I’m pretty sure this is the same as RSBTR 1.1 oz Silpoly)
- Gütermann Mara 70 thread (used with a 90/14 universal Schmetz needle)
- 1 m of Grosgrain ribbon - 10mm (just enough, would maybe order more)
- 15 m of 1.3mm Dyneema with polyester cover (did not use all of it)
- 9 x Mini Line-Lok tensioner
- Seam Grip + Sil glue
Sewing instructions
I tried to make it as simple as possible, so it can be easily reproduced
- Take the 3 m of fabric and cut off a 15 cm strip at one end.
- From this strip, cut 3 15cm sections, so you have 3 15x15 cm squares.
- Cut the squares in half -> 6 triangles for reinforcement.
- Glue 4 triangles to the corners of the fabric and the remaining 2 to the middle on both sides (ridgeline reinforcement).
- Let the glue dry for a couple of hours.
- Sew a rolled hem around the whole rectangle fabric (3mm stitch length).
- Sew on the 9 grosgrain tieouts (using the Nature Calls method).
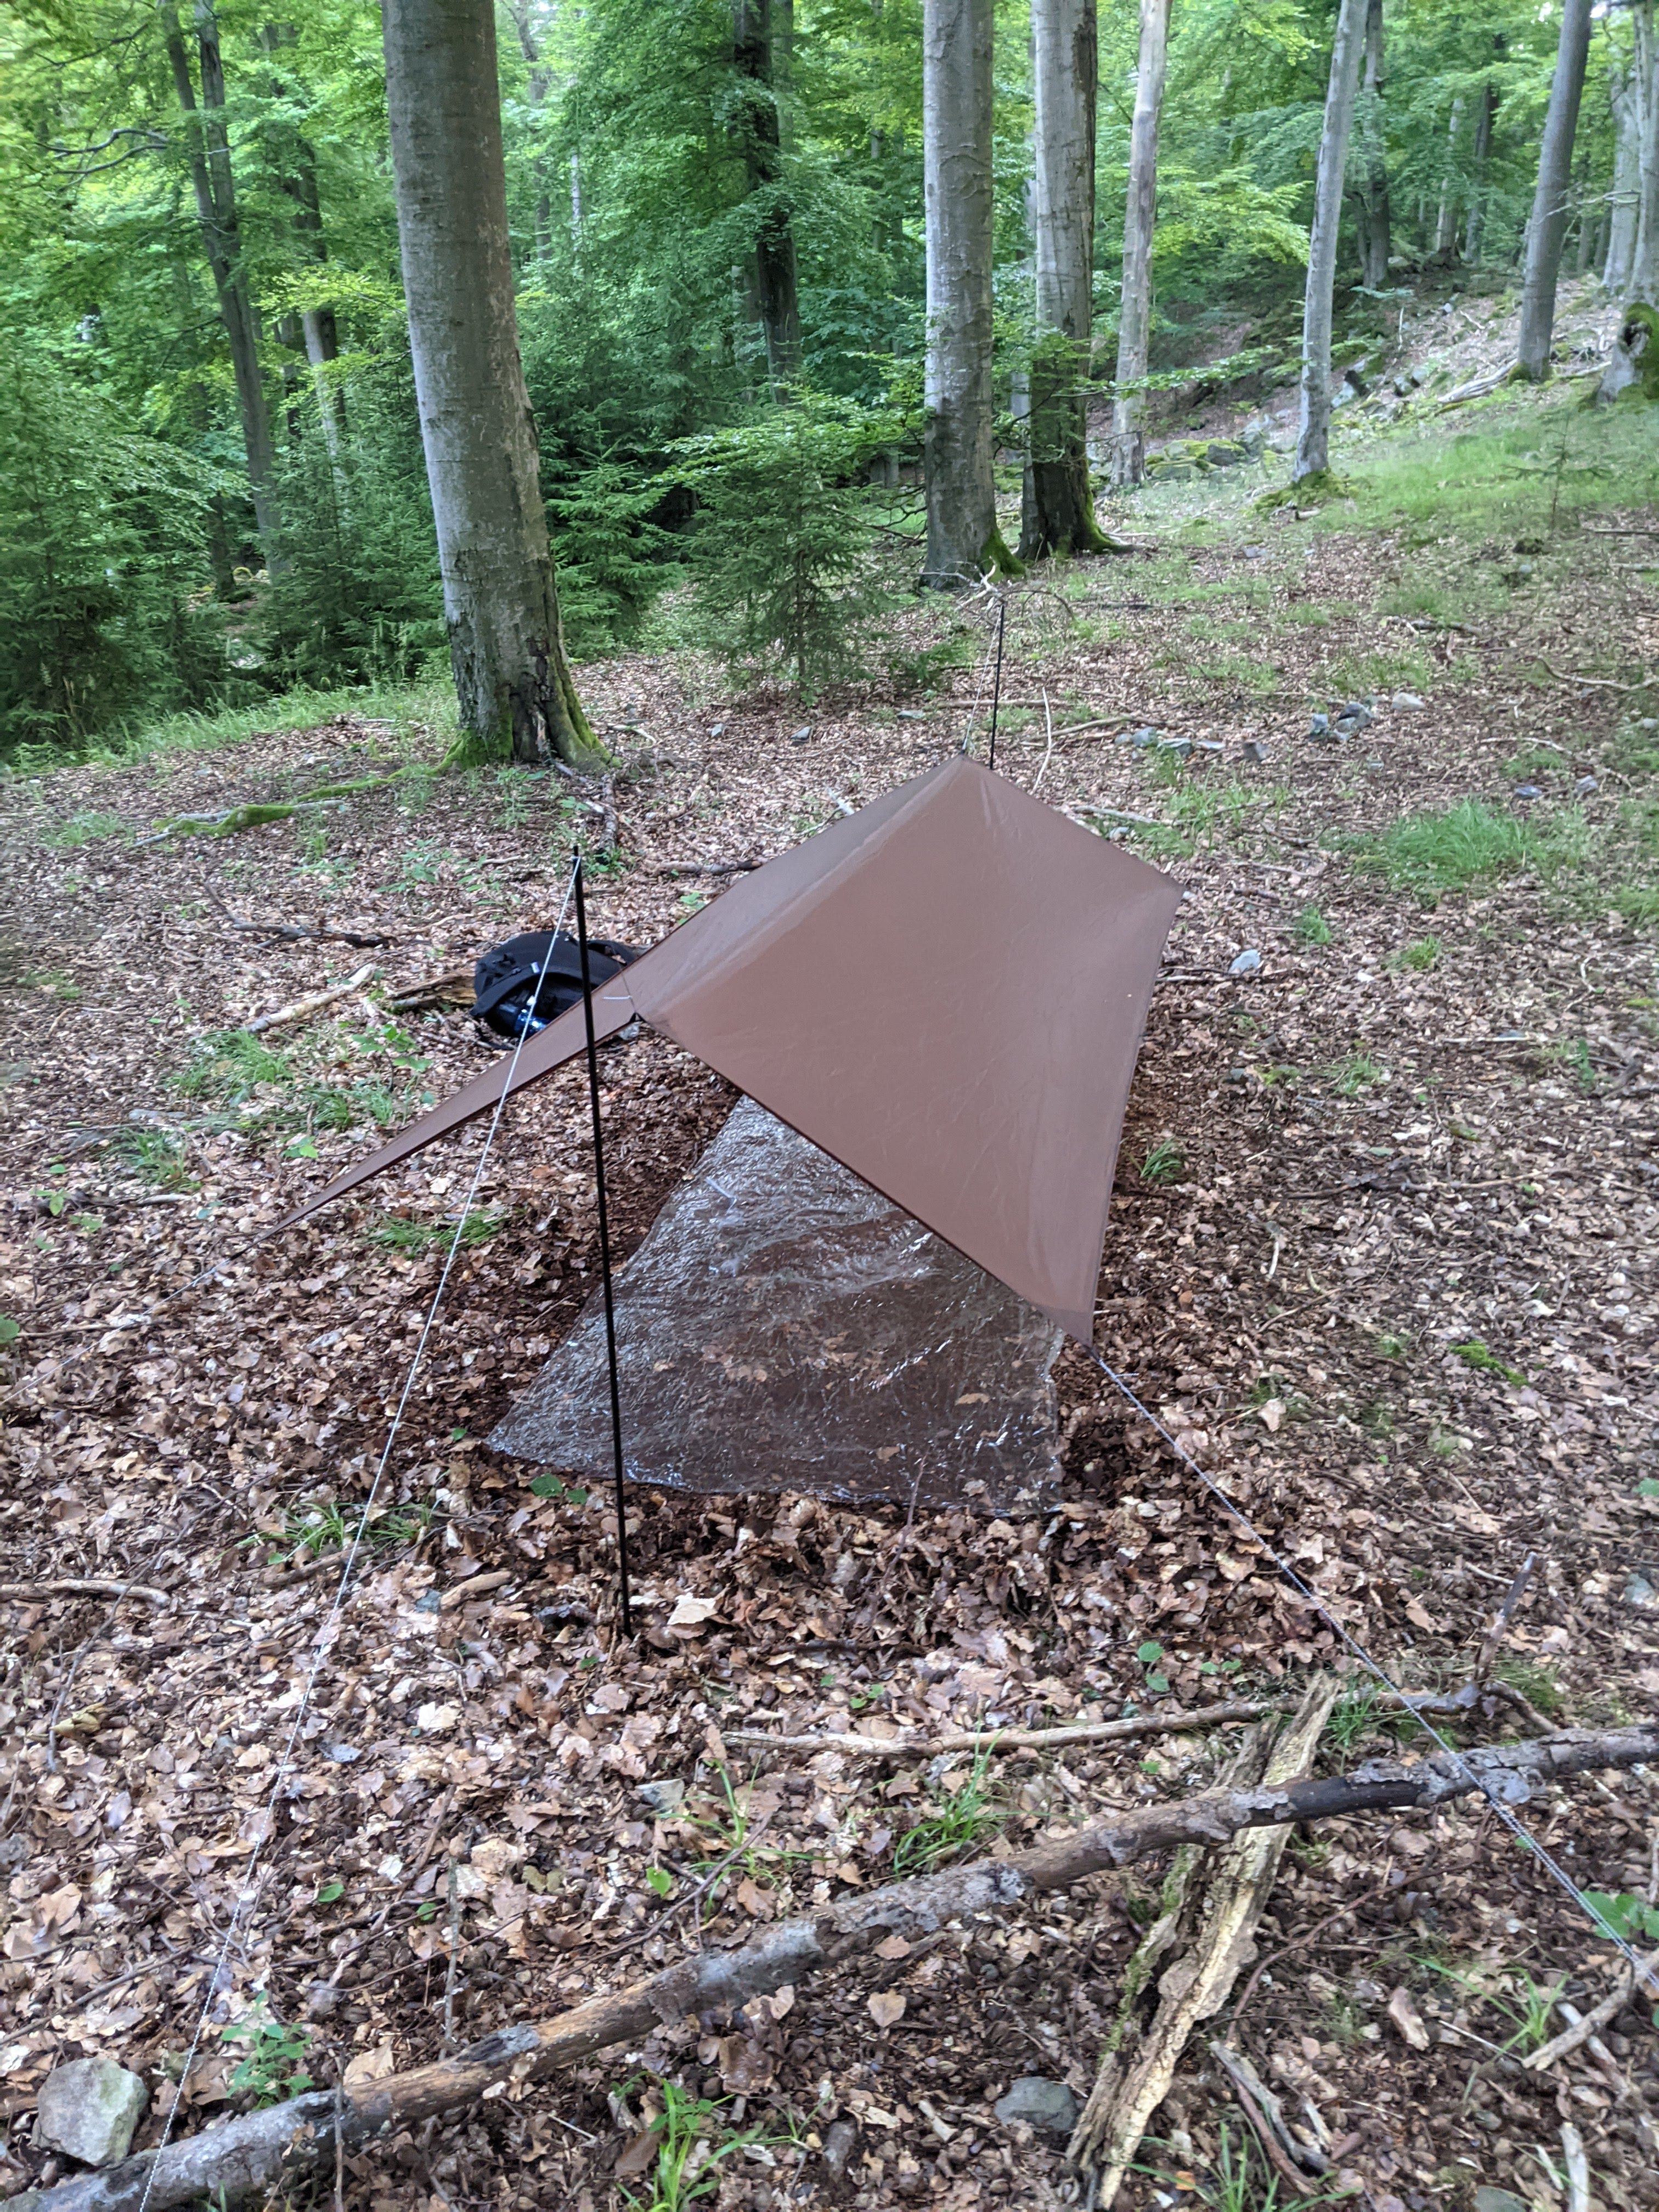
The first real test on a weekend trip.
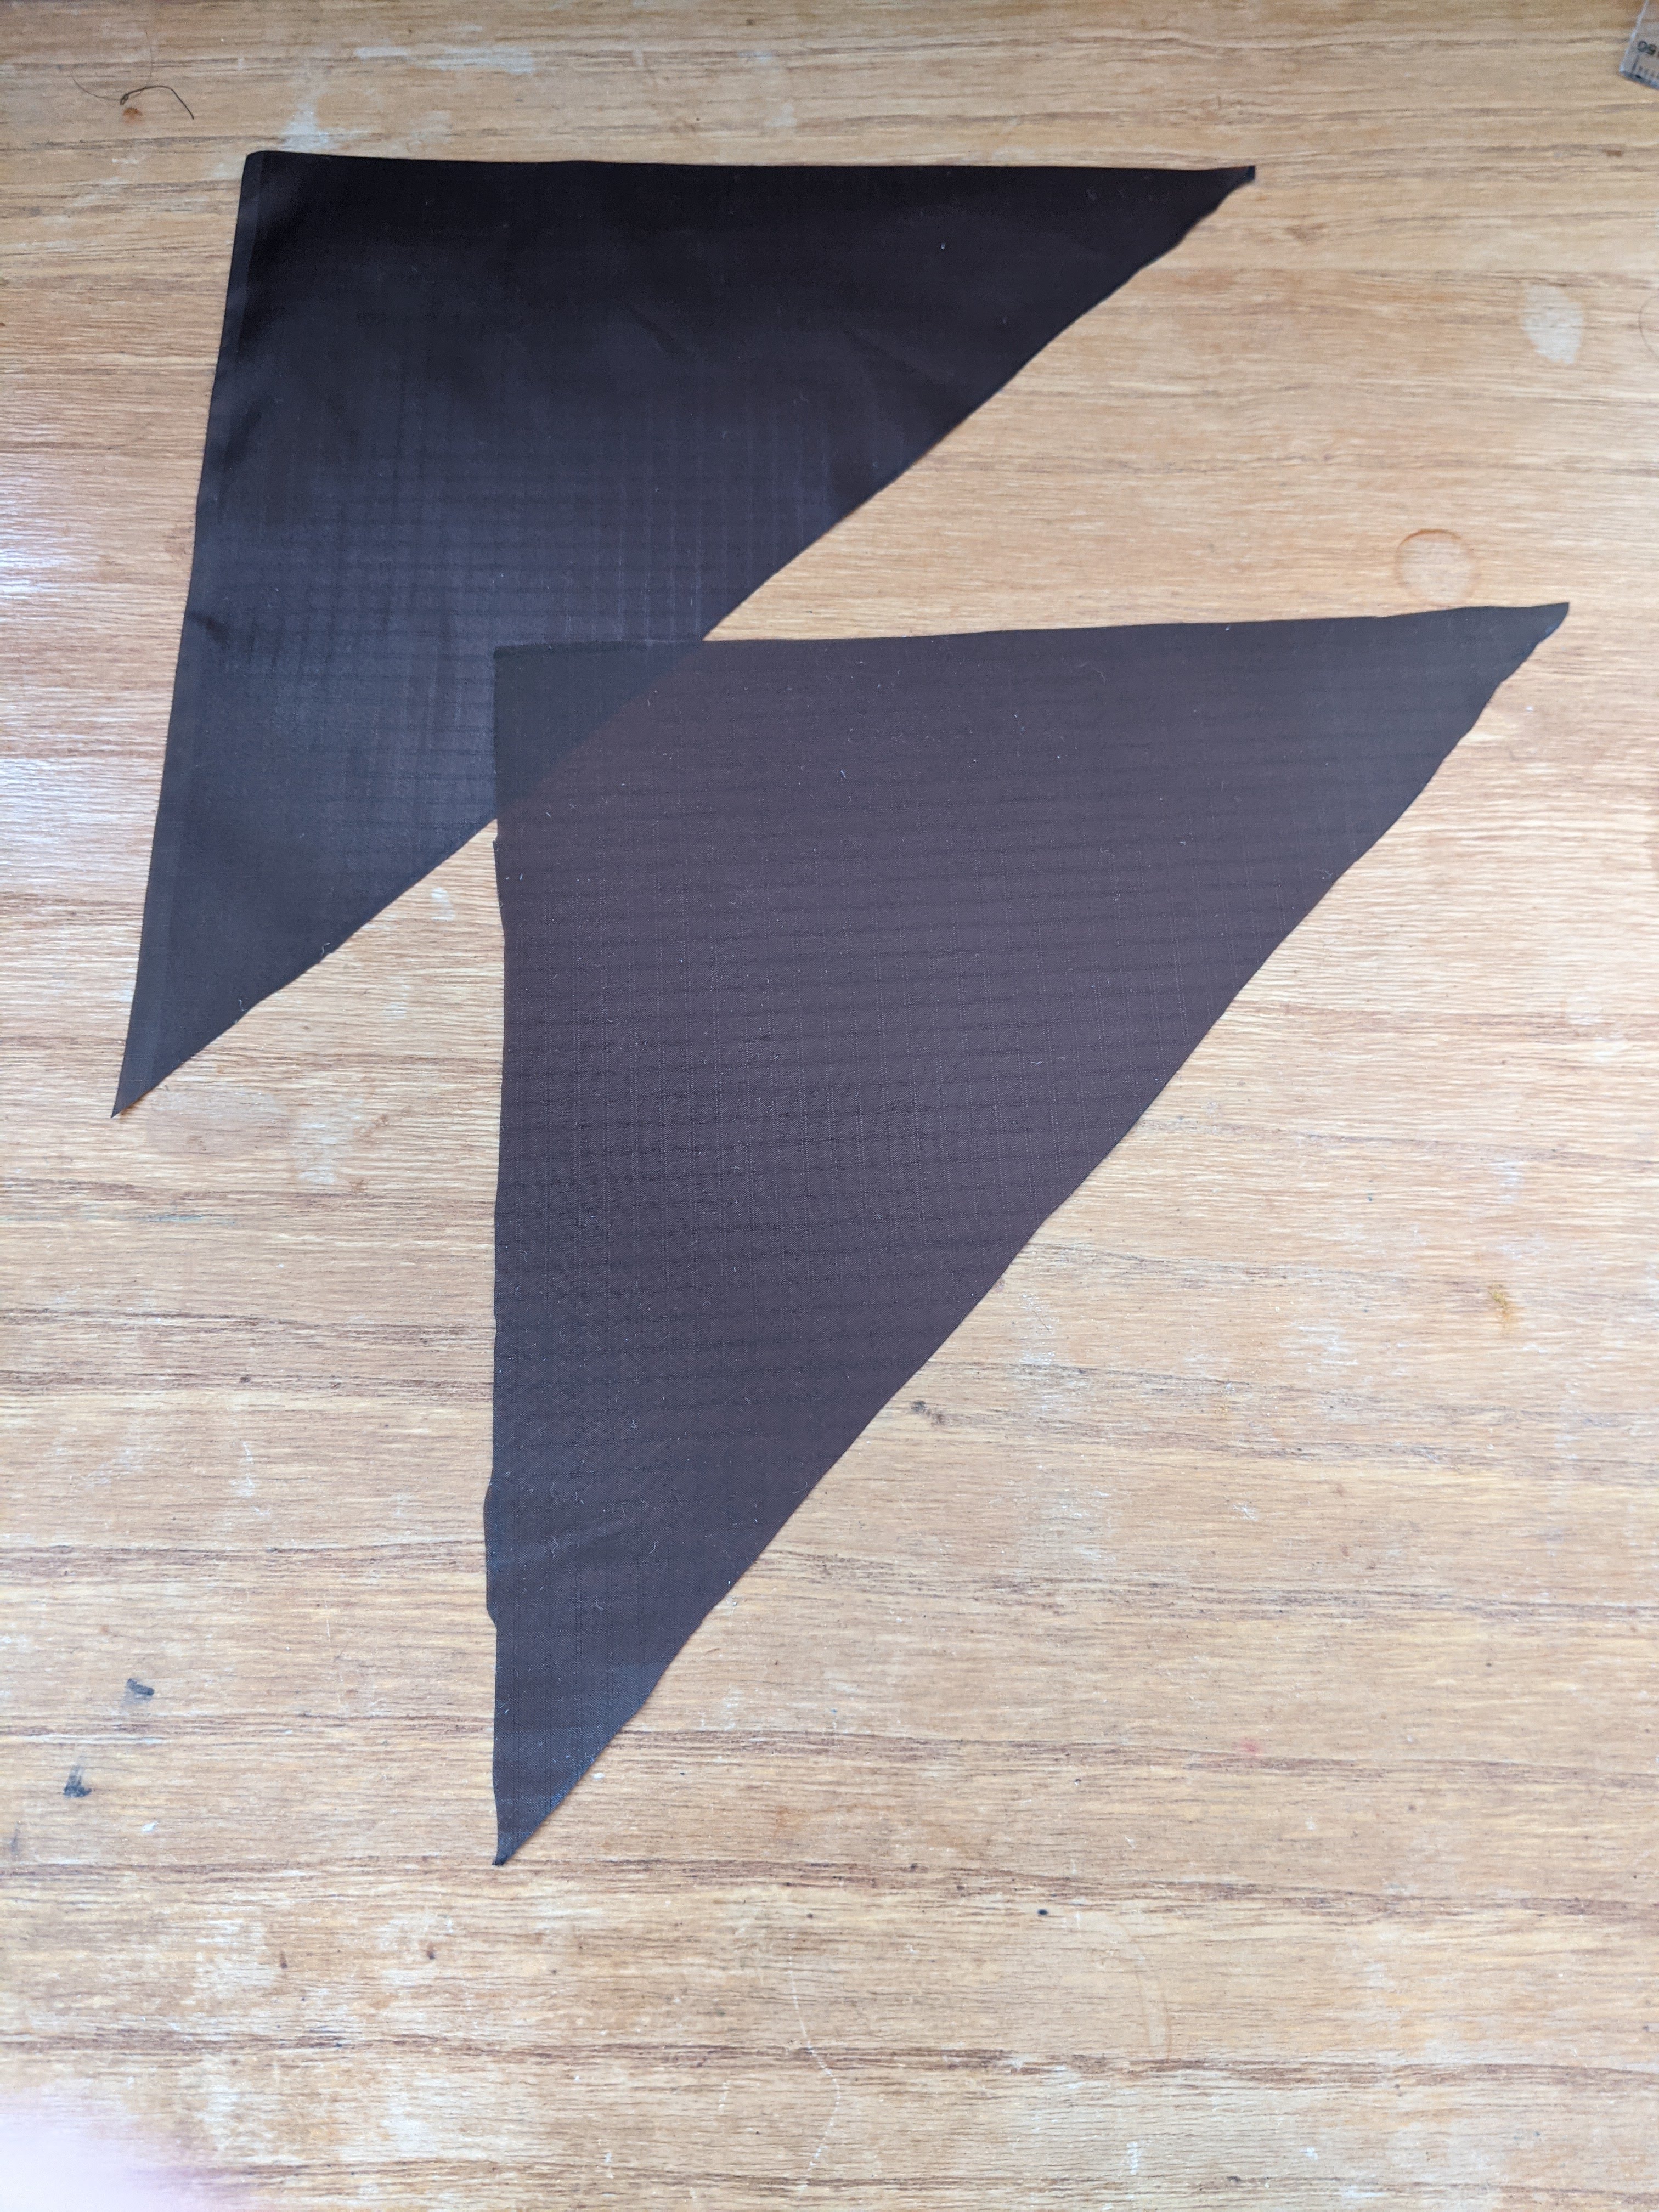
First I cut out 6 reinforcements for the corners and ridgeline tieouts.
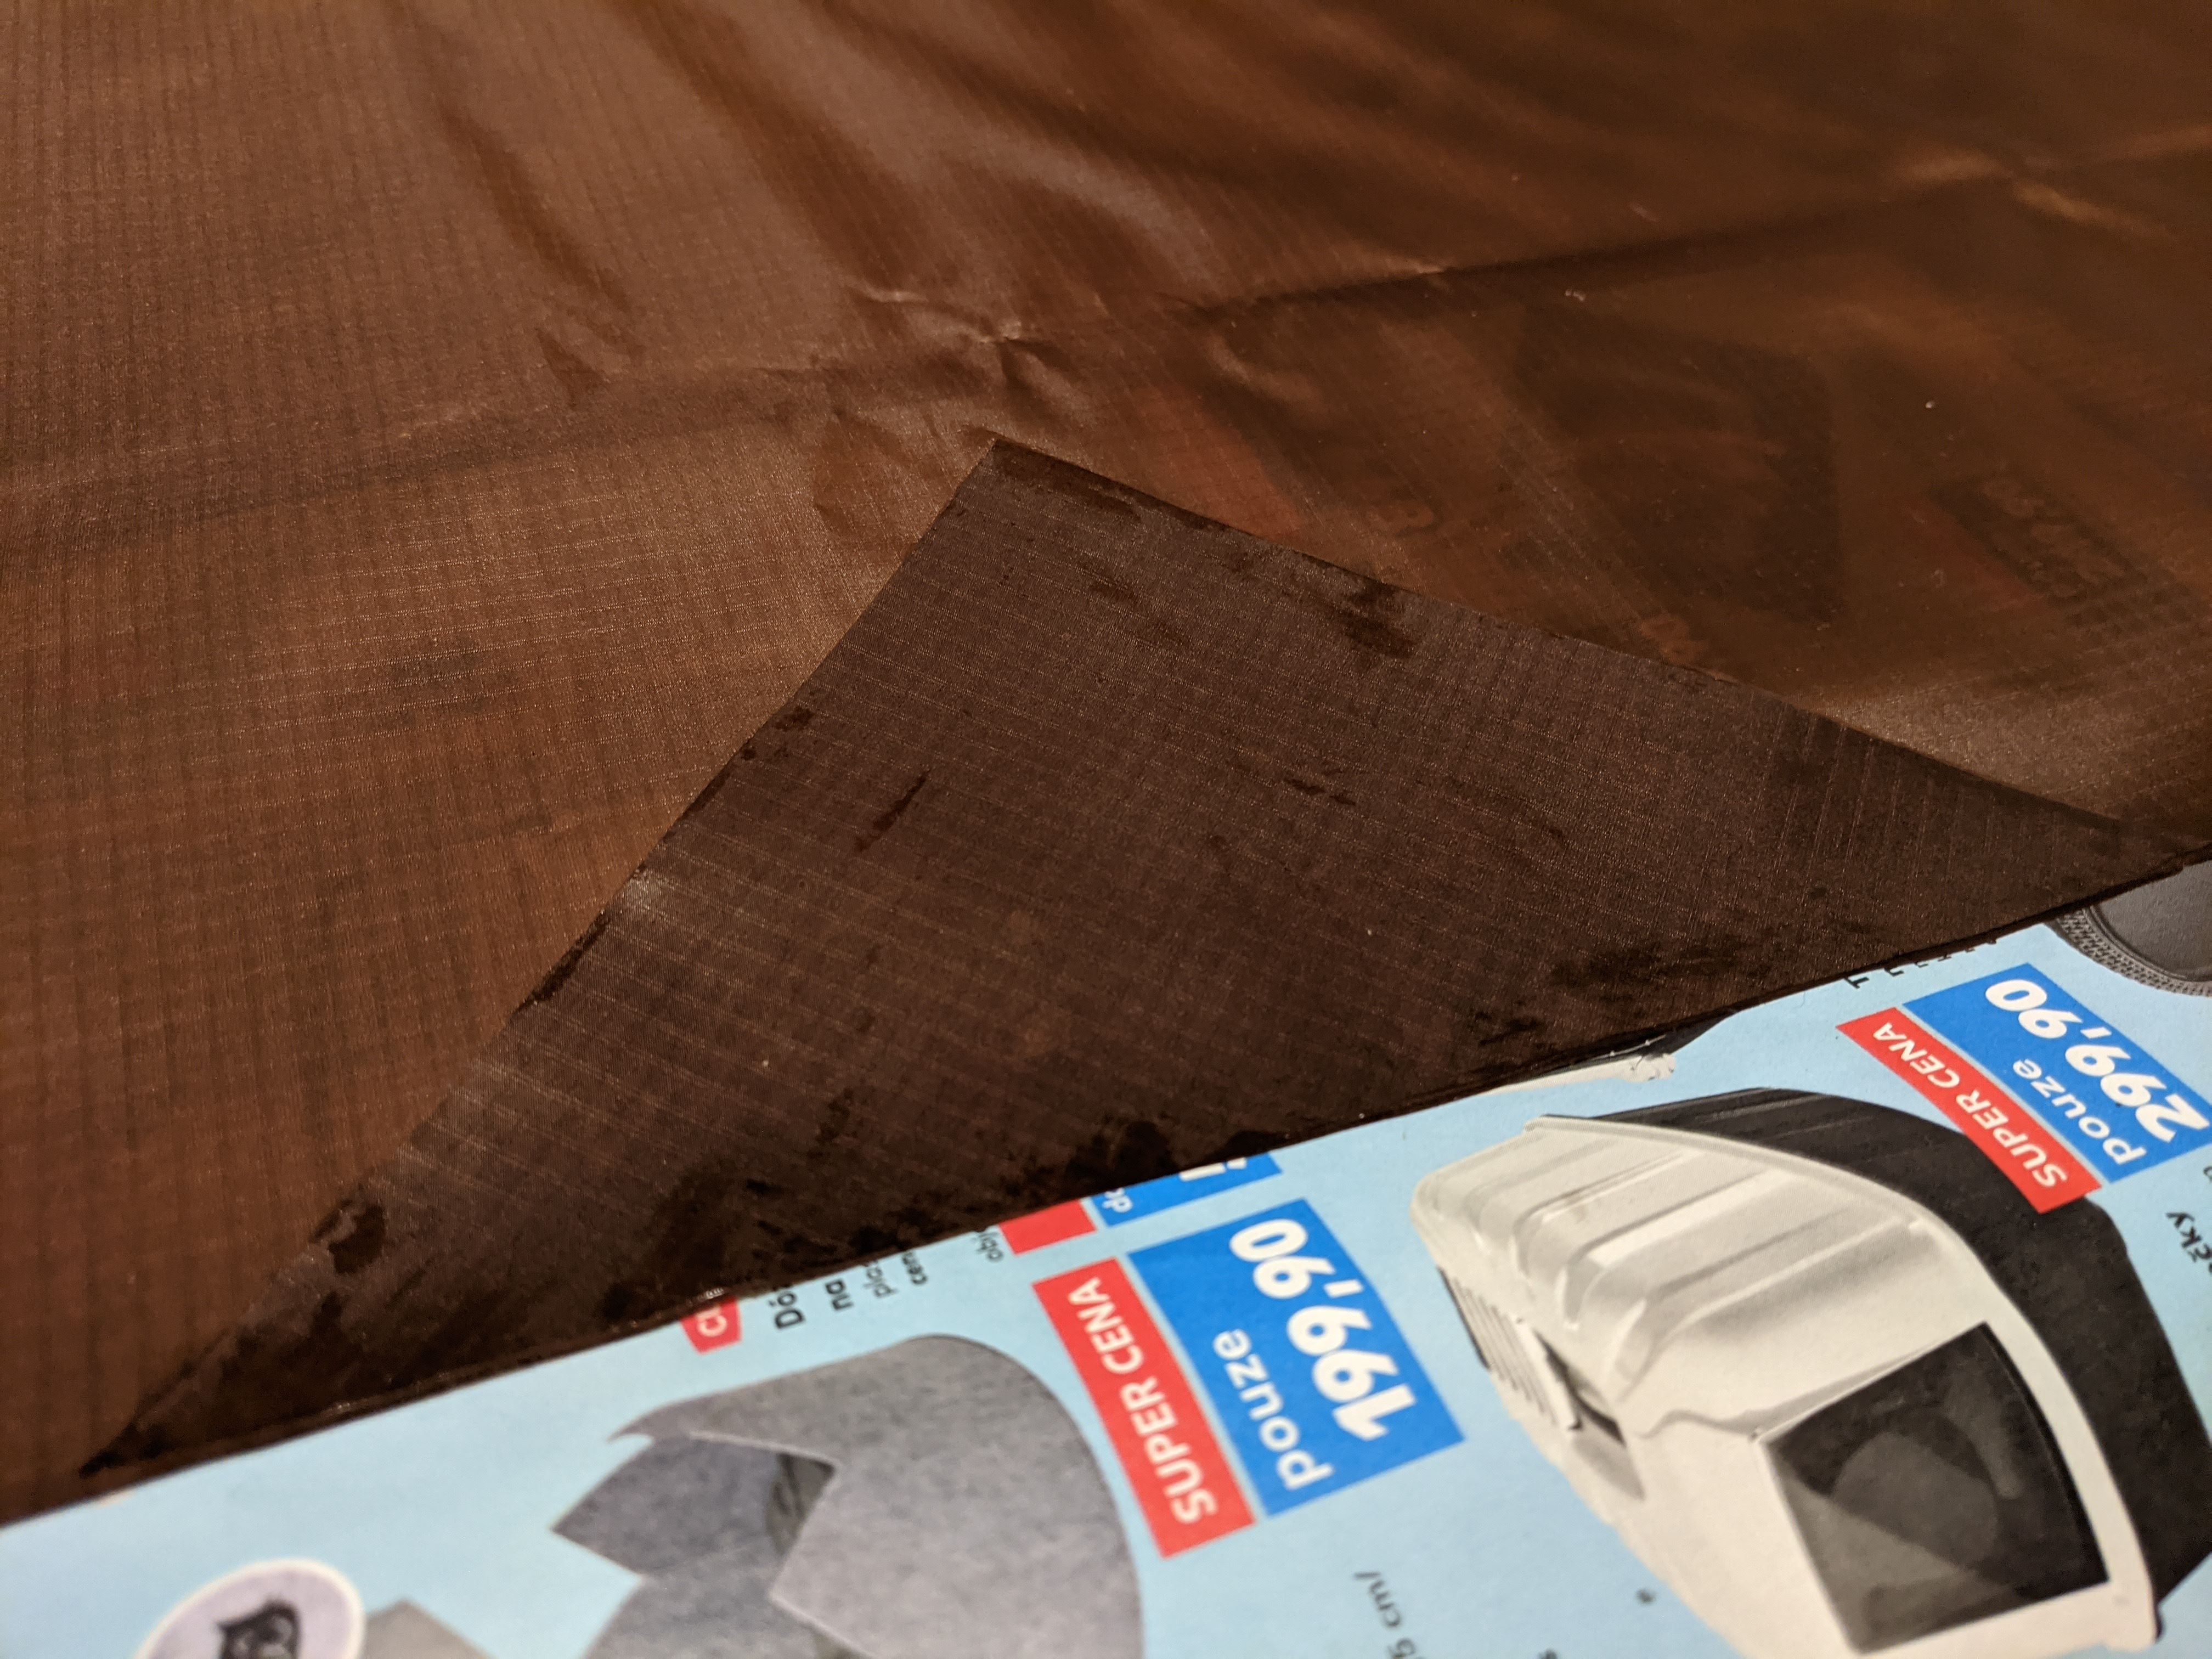
Reinforcements glued to the main fabric using the Seam Grip glue. I let it dry overnight.
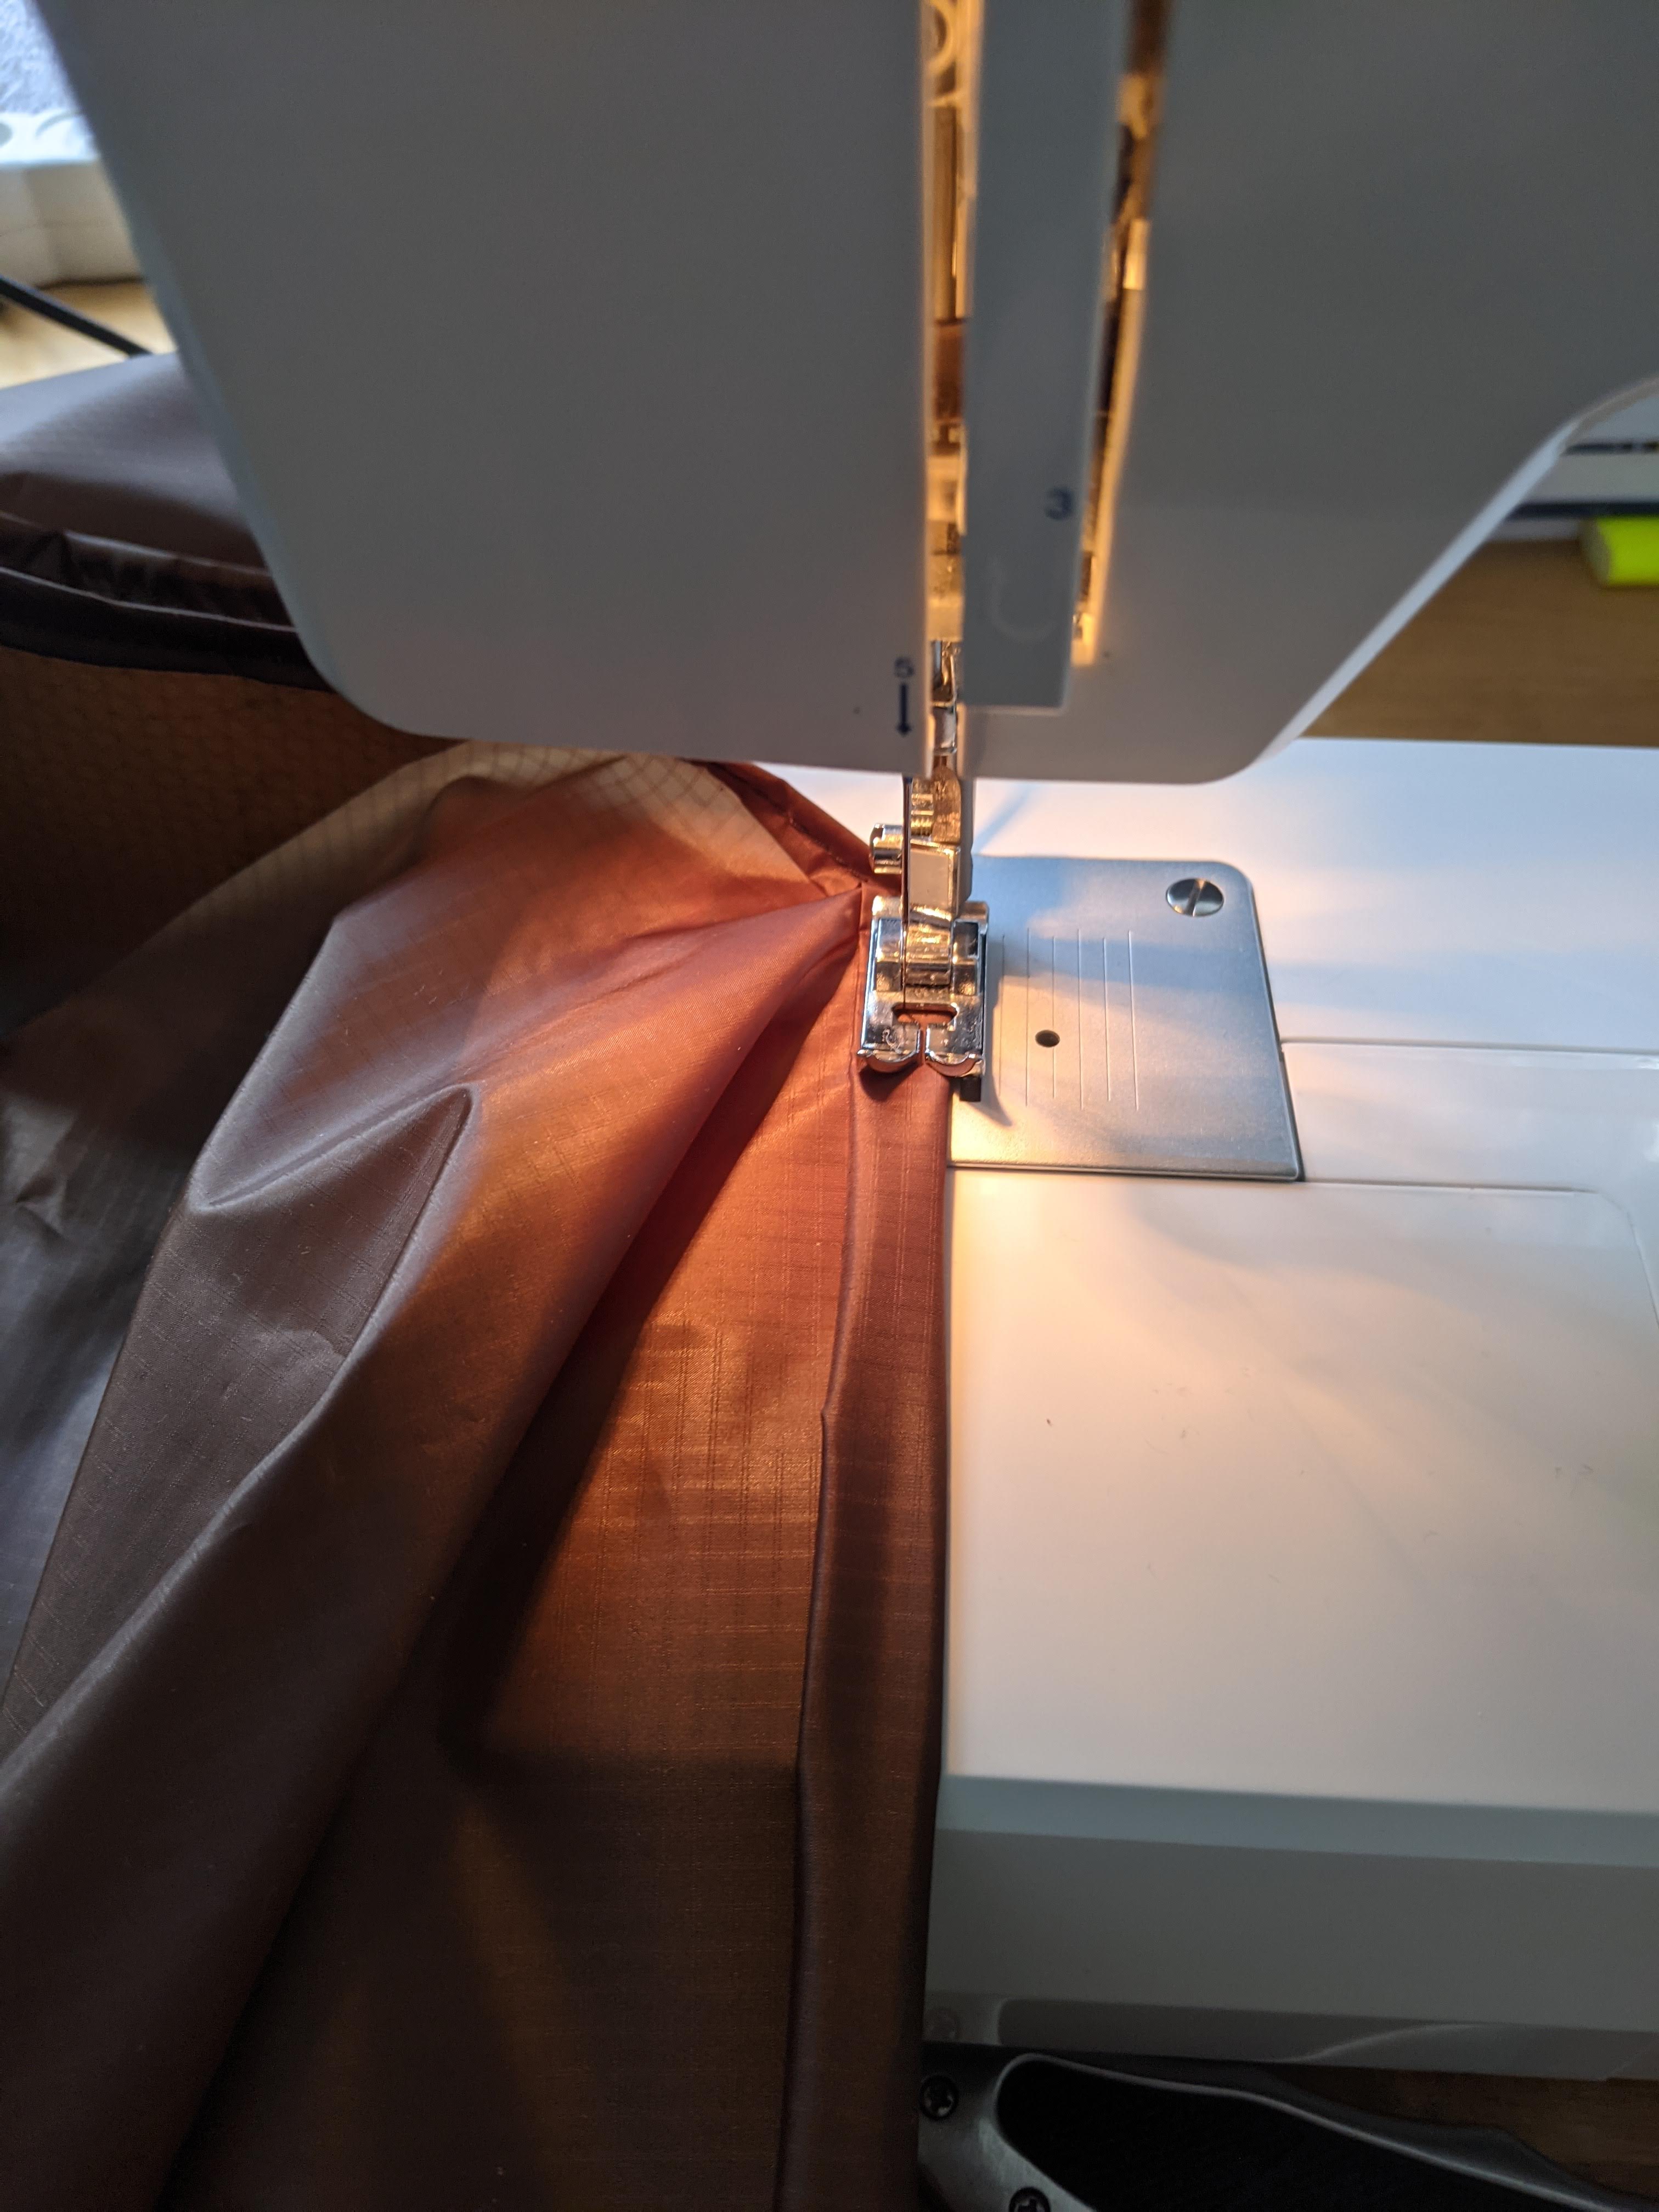
Sewing a rolled hem around the edges.
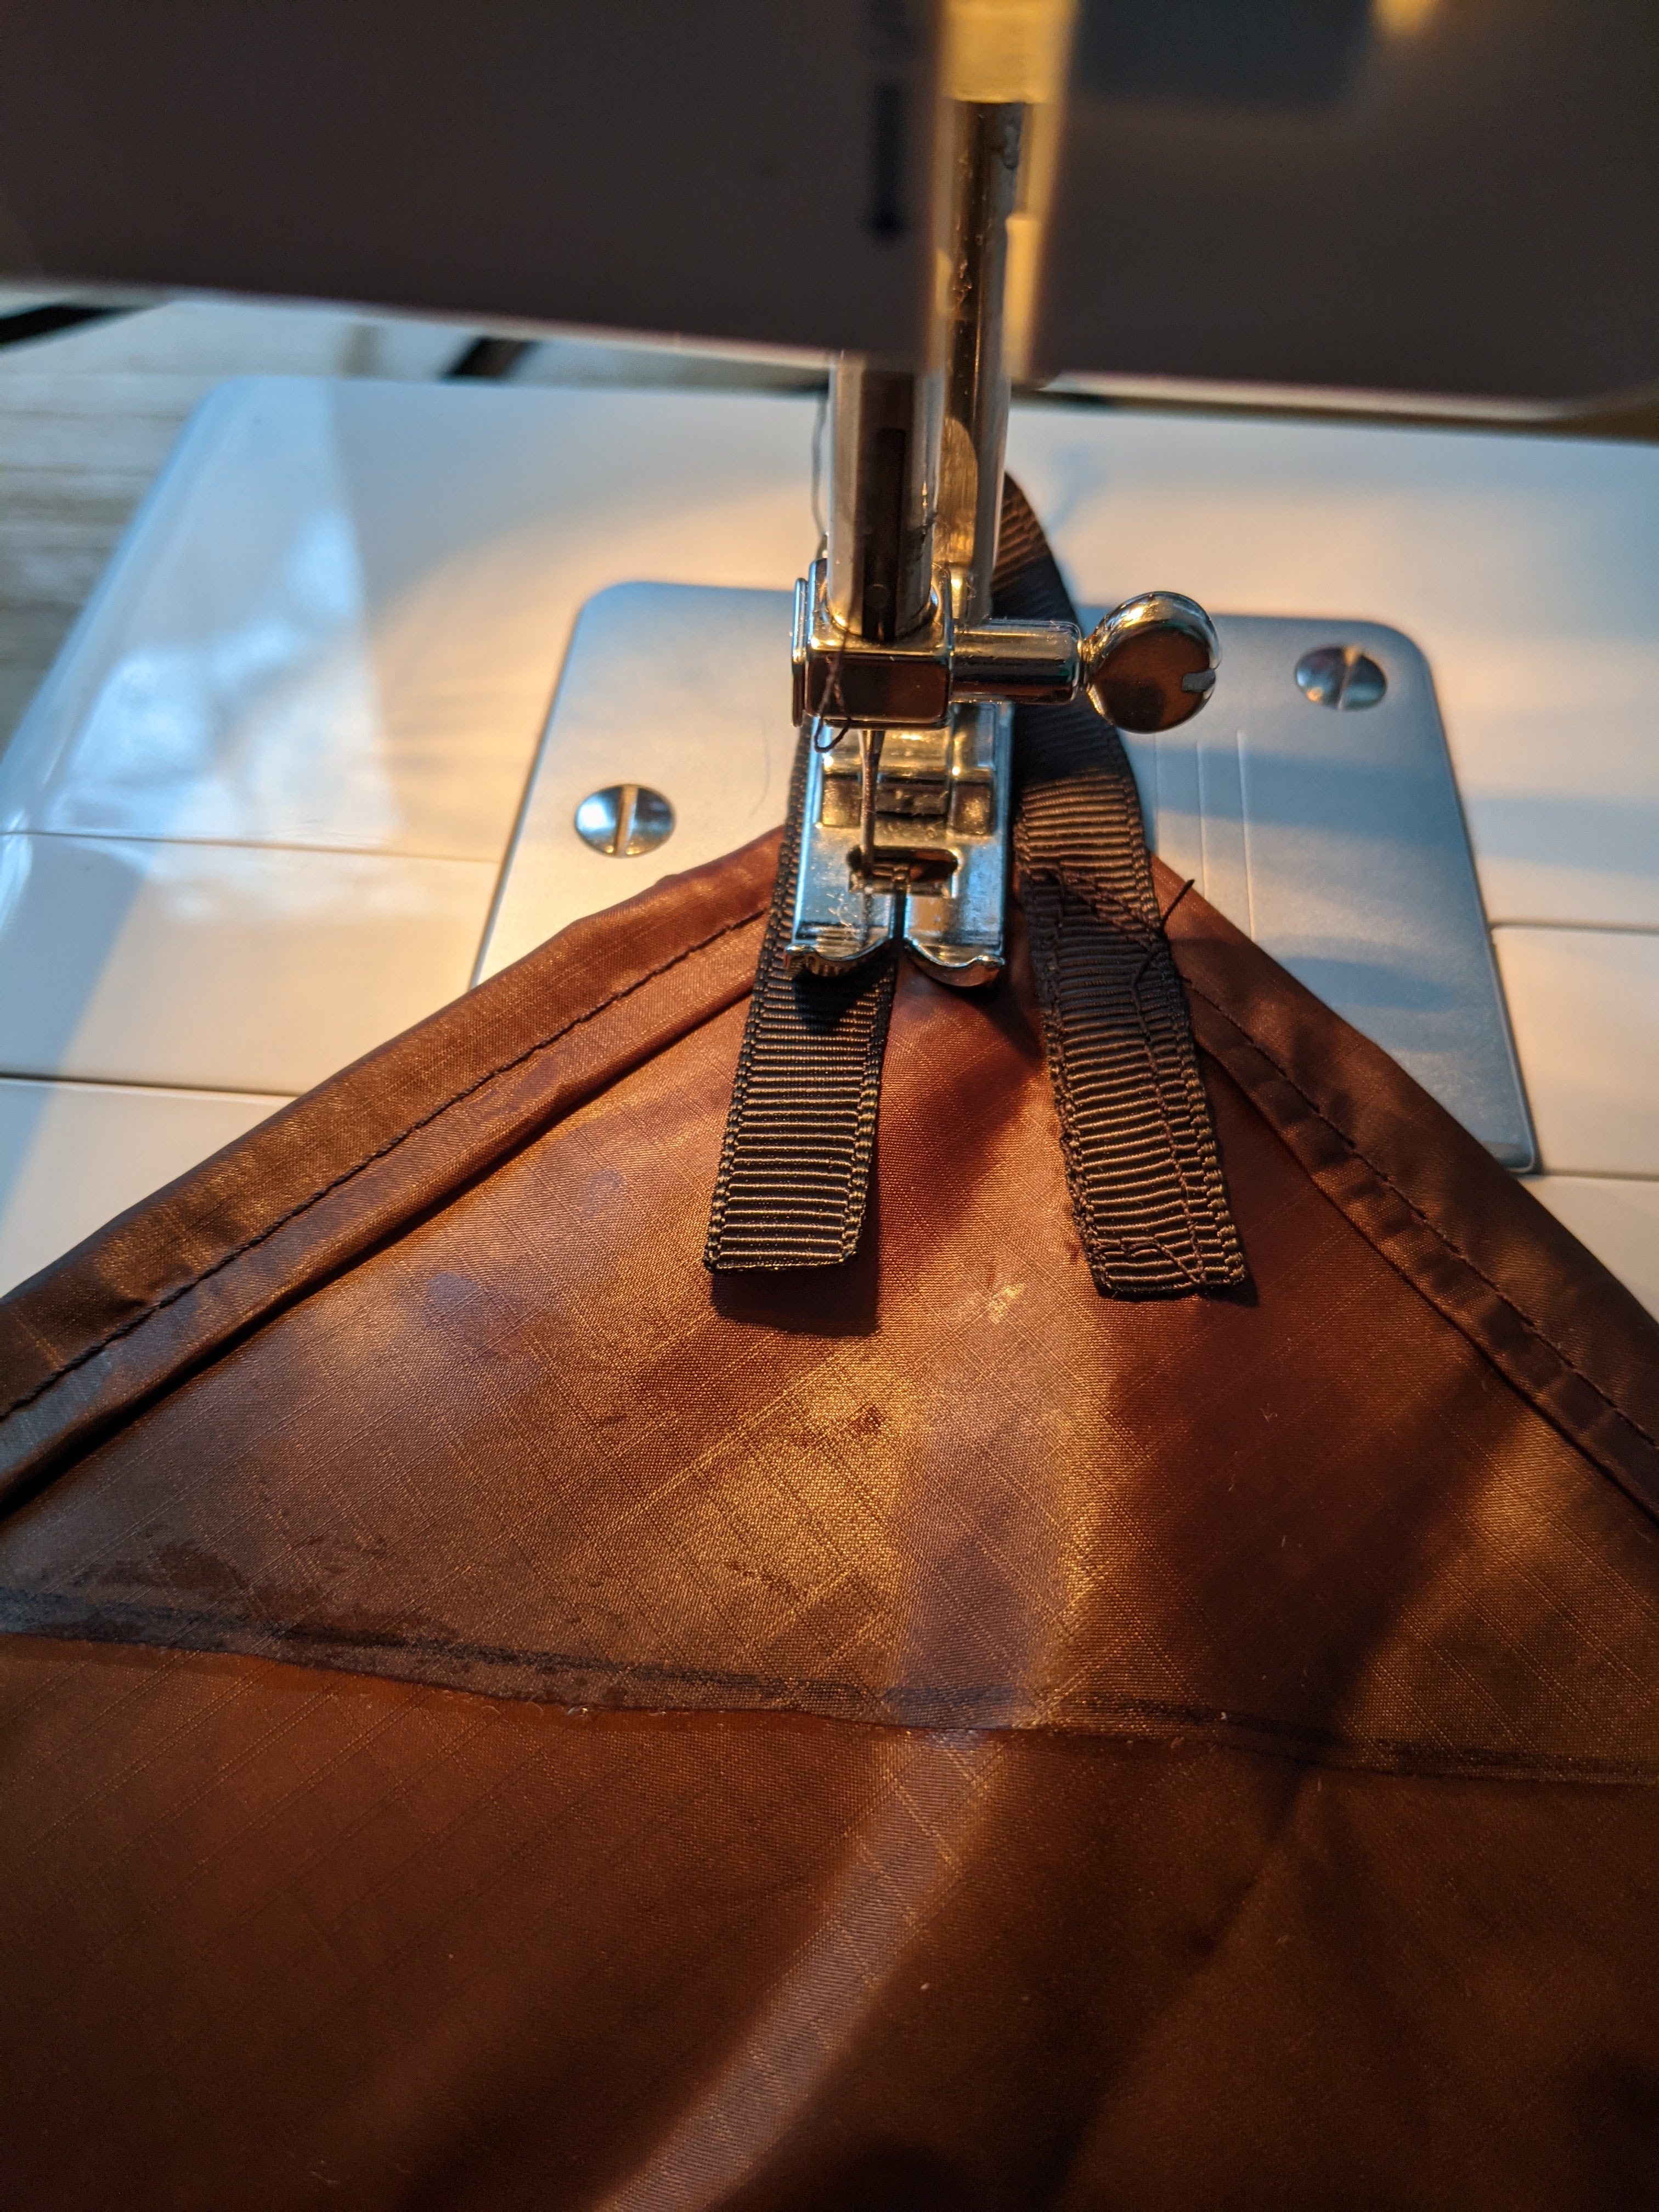
Sewing on the tieout grosgrain. This was more difficult than it seemed, but I got the hang of it by the end.
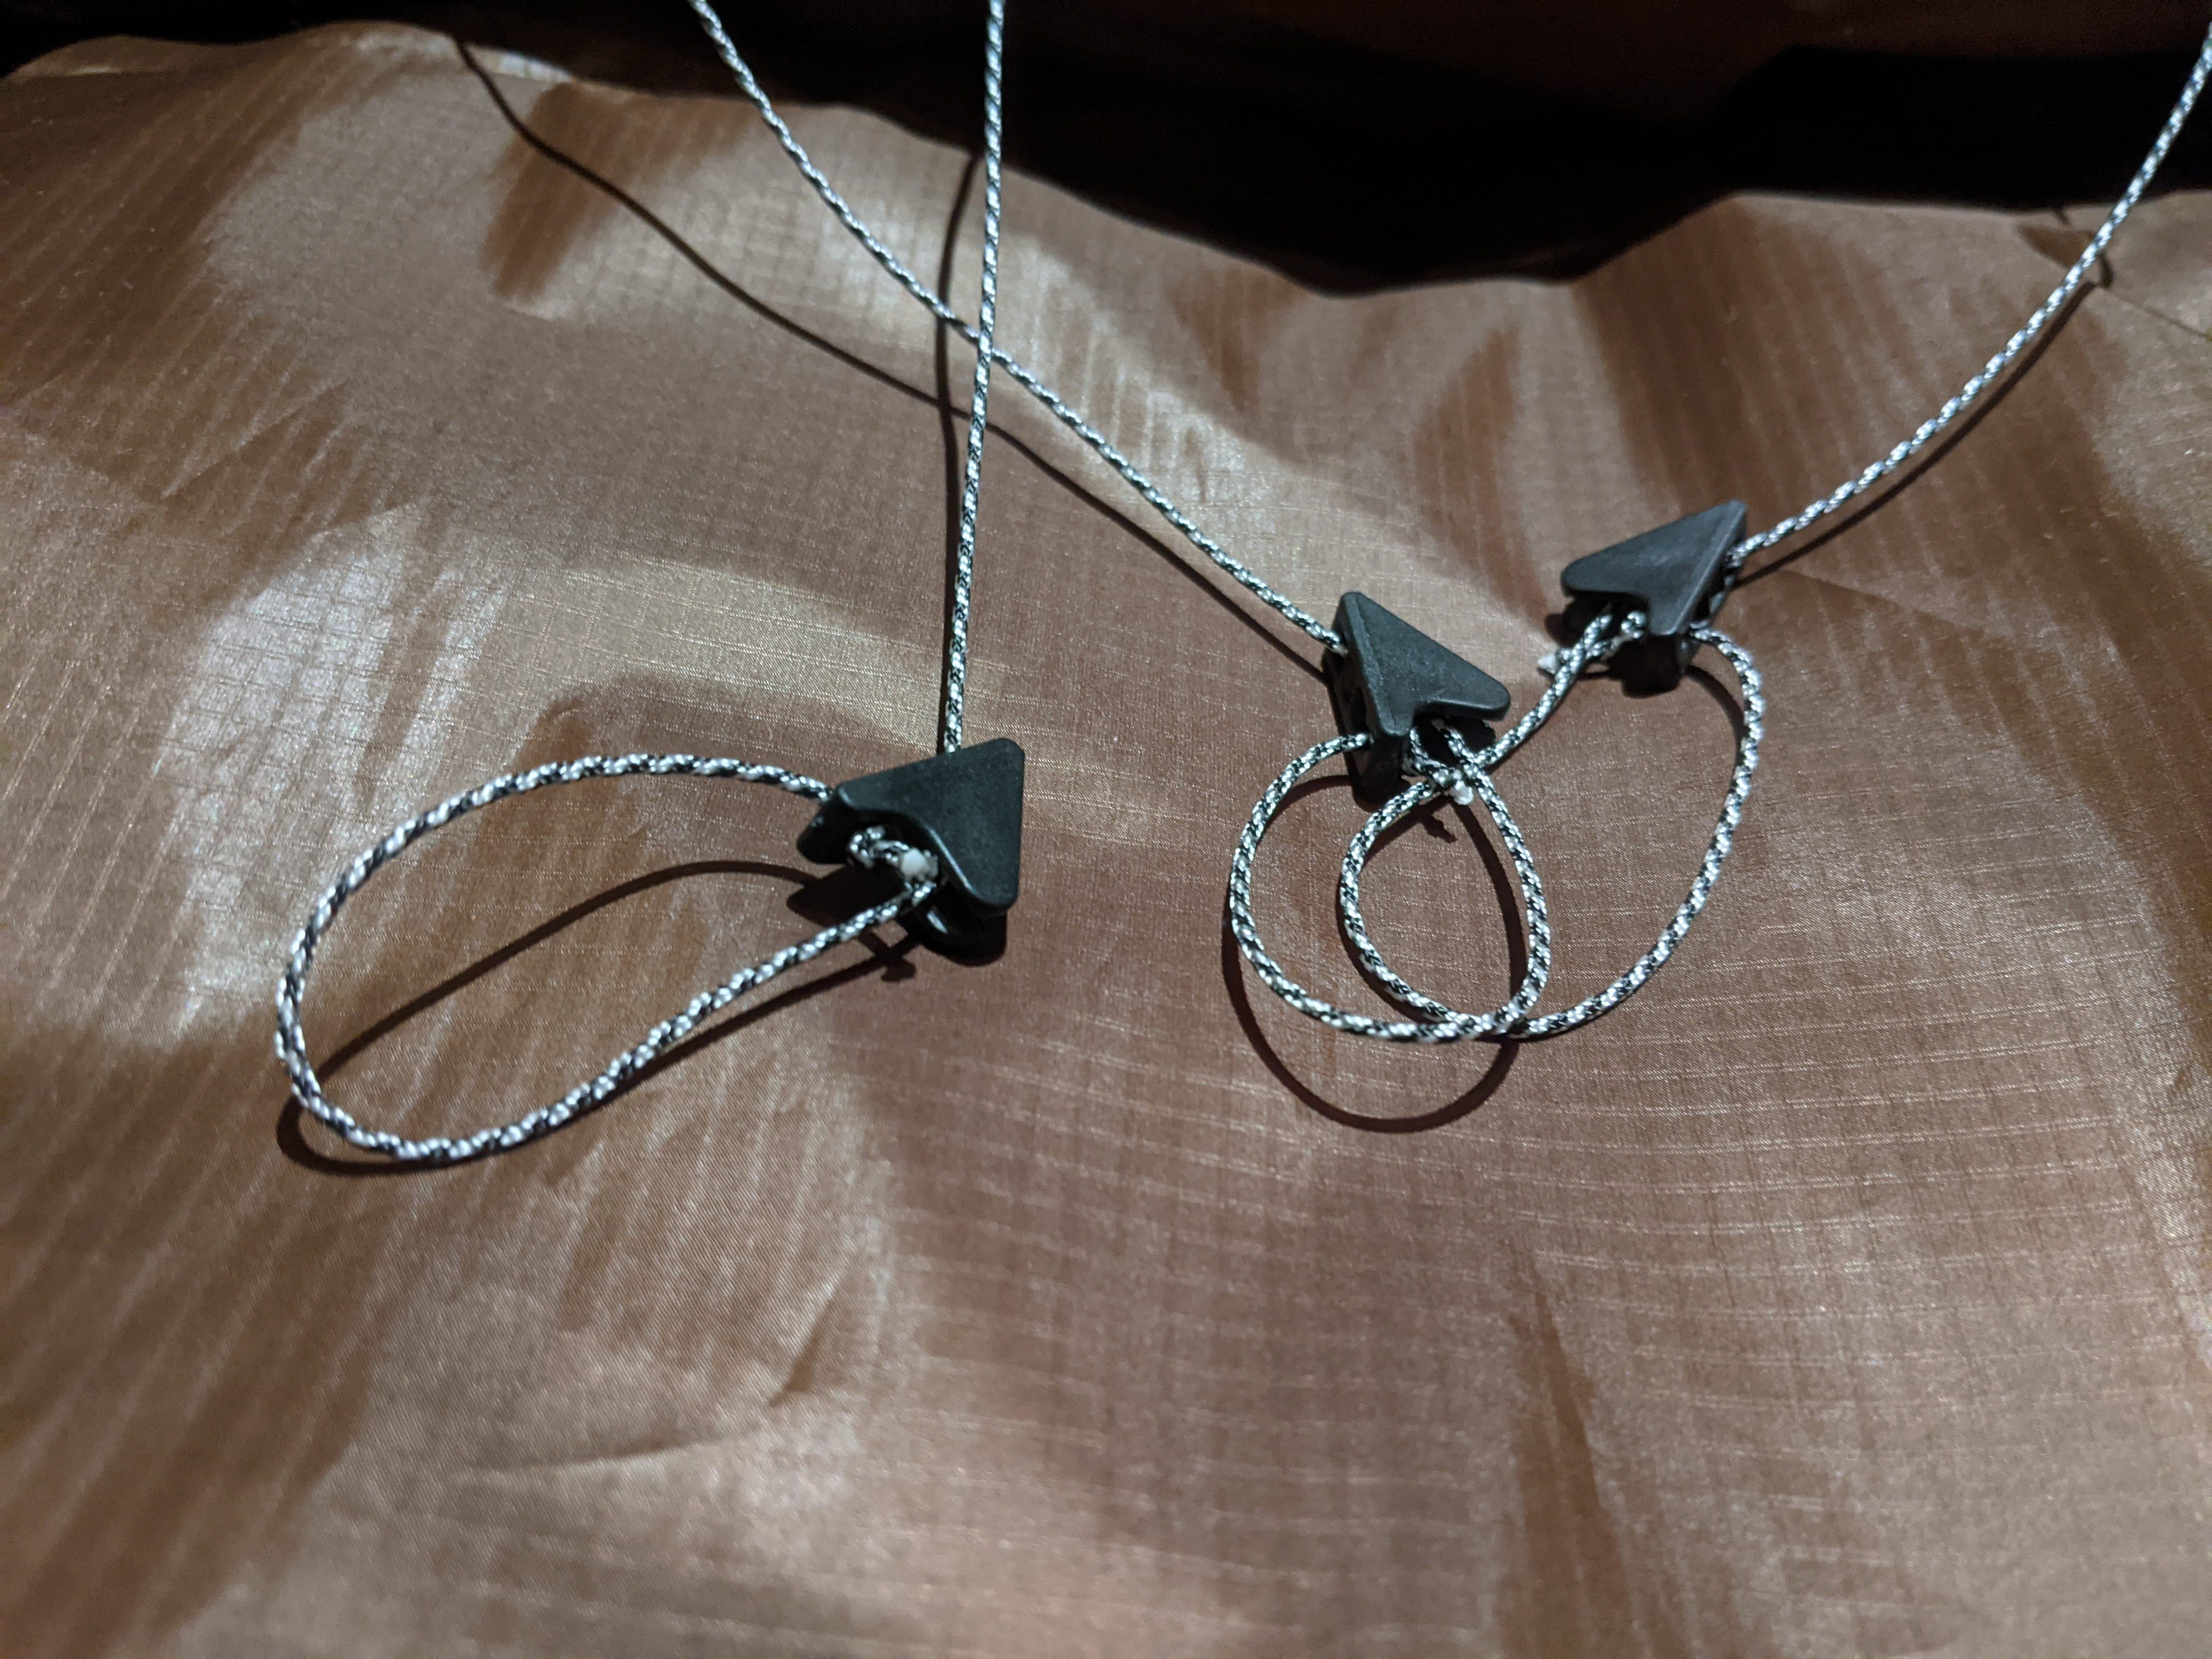
Adding lines with mini line-loks.